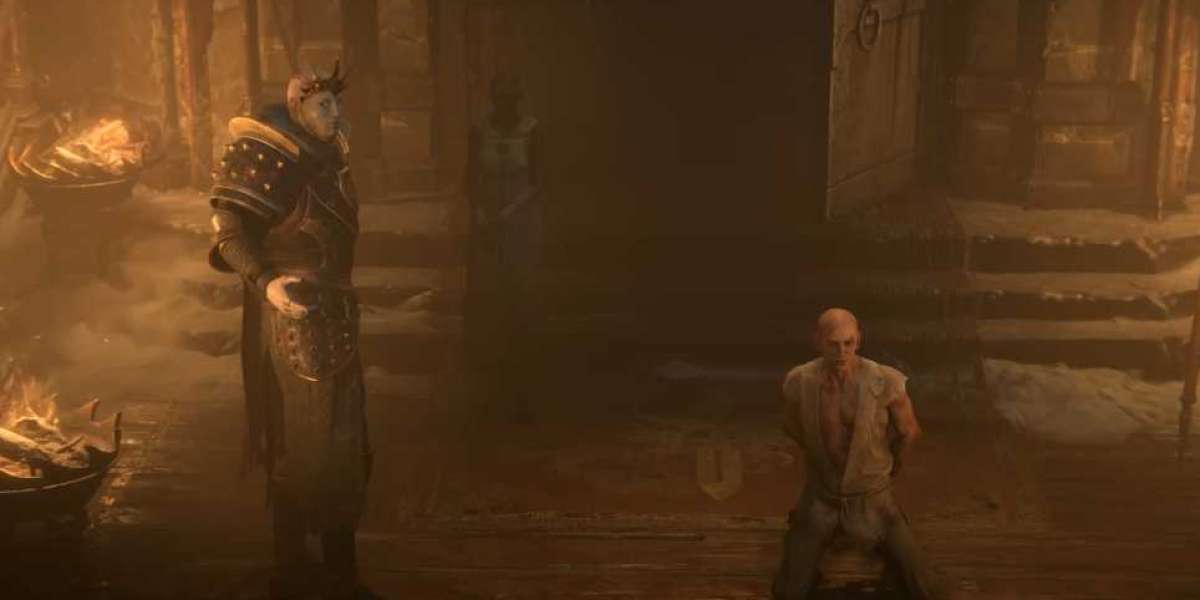
Season 11 has breathed new life into the Barbarian, and one build in particular has returned with overwhelming force: the Hammer of the Ancients (HOTA) Barbarian, often affectionately called the Hoda Bob Diablo 4 Items. After balance changes and meta shifts, this build has emerged as a true S+ tier powerhouse, capable of speed farming Pit 100 in under two minutes while also pushing deep into Pit 120+ territory.
With damage numbers reaching 40-50 trillion per hit, extreme survivability, and one of the smoothest gameplay loops in the game, HOTA Barb has become one of the most dominant endgame builds in Diablo 4 Season 11. While it does rely heavily on specific mythic interactions-most notably Melted Heart-the payoff is one of the most absurdly powerful and fun builds currently available.
The Core Concept: Fury Scaling and Overpower Abuse
At its core, the Season 11 HOTA Barbarian is built around massive Fury stacking, Overpower damage, and multiplicative scaling that allows Hammer of the Ancients to hit for astronomical numbers.
With optimized gear and sanctifications, players can reach 1,700-2,000 Fury, which directly fuels both damage output and survivability.
The build revolves around:
Hammer of the Ancients as the main damage skill
Permanent Wrath of the Berserker uptime
Heavy use of Overpower procs
Scaling damage through Fury, multipliers, and boss-specific bonuses
In high-tier Pit content, the gameplay is deceptively simple: group enemies, stand your ground, and repeatedly slam HOTA until everything on screen evaporates.
Speed Farming vs Push Variant: Two Powerful Setups
One of the strengths of the HOTA Barb this season is flexibility.
The build has two distinct variants, each excelling in a different role.
Speed Farming Variant
Designed for Pit 90-100 speed clears:
Uses Leap for rapid movement
Teleport-style gameplay with Leap, Metamorphosis, and mobility bonuses
Can clear Pit 100 in sub-two minutes
Ideal for farming materials, glyph XP, and leaderboard efficiency
With the updated Leap animations and cooldown resets via the Marshall glyph, the speed version feels fluid and aggressive. You leap into packs, slam once or twice, and move on instantly.
Push Variant
Optimized for deep Pit pushing (120+):
Swaps Leap for Ground Stomp
Uses Rupture to gain massive attack speed
Focuses on survivability, Overpower consistency, and boss damage
Currently capable of clearing Pit 122+
This version sacrifices some speed for control, cooldown resets, and sustained damage during longer boss encounters.
Absurd Damage Scaling: Why Bosses Melt
Unlike some other meta builds, HOTA Barbarian excels not just at clearing trash, but also at killing high-Pit bosses efficiently.
The key lies in weapon interactions and multipliers:
Ancestral Force grants double damage against bosses
Hammer Quakes provide a massive 60% multiplicative damage bonus
Two-handed scaling doubles this again
Boss-specific bonuses stack multiplicatively
The end result is up to 240x effective damage against bosses, allowing Pit 120 bosses to be defeated in just a few minutes rather than prolonged, high-risk encounters.
This gives HOTA Barb a significant advantage over builds that struggle with single-target damage at high tiers.
Melted Heart: The Build Enabler
A critical disclaimer must be made: while the build functions without it at lower levels, Melted Heart is what truly unlocks HOTA Barb's full potential.
Why Melted Heart Is Mandatory
Converts damage taken into Fury loss instead of Life
Allows Fury to act as a massive defensive resource
Enables absurd Fury totals (2,000+ with double Melted Heart)
With double Melted Heart sanctification, the build becomes effectively immortal. Even before that, a single Melted Heart is enough to comfortably farm Pit 90-100.
Without Melted Heart, players can still enjoy the build-but survivability and push potential are dramatically reduced.
The Immortal Barbarian: How Survivability Works
One of the most broken aspects of this build is its near-invulnerability, achieved through a clever interaction between Fury, healing, and low maximum Life.
Low Life = Higher Survivability
The build intentionally runs with extremely low Life, sometimes as low as 100-300 total HP. This sounds dangerous, but it's the opposite.
Key interaction:
Starlight Aspect converts a percentage of healing into resource generation
With low Life, even small heals count as massive percentage-based healing
Life-on-hit and Life-per-second effects instantly refill HP
Each heal generates enormous Fury every second
Because Hammer of the Ancients attacks multiple times per second, the Barbarian is constantly overhealing, generating Fury, and staying permanently fortified.
With the right setup, you can:
Stand AFK in enemy packs
Face-tank Pit 100 mechanics
Ignore most boss abilities entirelyGear Highlights and Important Aspects
While sanctifications and rolls matter, the build remains surprisingly forgiving early on. Even borrowed gear from other classes can work initially.
Key items and aspects include:
Hammer of the Ancients Quakes on weapon
Ramaldni's Magnum Opus with Life on Hit
Grandfather for massive damage scaling
Starless Skies (if available) for double-dipping damage bonuses
Starlight Aspect (mandatory for survivability)
Cooldown reduction where possible
Helm options include Harlequin Crest (Shako), though alternatives work early if cooldown coverage is sufficient.
Gameplay Loop: Simple but Powerful
Despite the complexity under the hood, the actual gameplay loop is straightforward:
1.Build Fury to maximum
2.Activate Wrath of the Berserker
3.Use Ground Stomp to reset cooldowns
4.Slam Hammer of the Ancients repeatedly
5.Use Shouts to refresh Berserker and Ground Stomp
6.Repeat endlessly
Cooldown resets feed into each other, creating a self-sustaining loop where abilities are almost always available.
In speed farming, Leap replaces Ground Stomp, allowing for near-constant movement while maintaining full damage output.
Skill Tree and Paragon Overview
The skill tree focuses heavily on:
Maximum ranks in Hammer of the Ancients
Fury generation and scaling
Overpower bonuses
Wrath of the Berserker uptime
Shouts for damage, Fury, and cooldown resets
Key Paragon boards and glyphs include:
Marshall (core to cooldown resets)
Carnage
Blood Rage
Weapons Master
Flawless Technique
Even without perfect sanctifications, these boards provide enough power to comfortably push high-tier content.
How Strong Is HOTA Barb in the Season 11 Meta?
In the current Season 11 landscape:
Paladin remains the absolute top-tier class
HOTA Barbarian is a very close second
Stronger than most other builds in both speed and pushing
One of the tankiest builds ever seen in Diablo 4
Many players have cleared Pit 120+ within their first day of playing Barbarian, especially if transitioning from another geared character.
Final Thoughts: A Build Worth the RNG
The Season 11 HOTA Barbarian is not cheap, and it is not low-RNG. Sanctifications, Melted Heart rolls, and Fury scaling require investment. However, once the pieces come together, the payoff is enormous.
You gain: cheap Diablo 4 materials
Trillion-level damage
Near-immortality
Extremely fast farming
Smooth, satisfying gameplay
If you're looking for a build that feels genuinely overpowered and rewards persistence, HOTA Barb is one of the most enjoyable experiences Diablo 4 has to offer this season.


